Filter cartridges are used in many industrial settings to trap solid contaminants in water and other liquids. As a vital part of the filtration systems, knowing how to care for your filter cartridges is essential. Part of that care is knowing how to properly replace your filter cartridge: from completely turning off the system to removing the cartridge and from cleaning the housing to restarting your system. Every step is crucial.
Today, we will walk through the basics of how to change out filter cartridges in both single and multi-cartridge housings. We will also talk about when the ideal time is to change your filter cartridge.
Steps for Replacing a Cartridge Filter in a Single Cartridge Housing
Before you start replacing your filter there are a few tools you’ll need: the cartridge, a drip tray/bucket, a filter wrench, and lubricant. Once you have these tools, follow these steps for replacing a cartridge filter in a single cartridge housing:
Step 1: Make sure the system is turned off and depressurized.
Step 2: Place a drip tray or bucket underneath the sump to collect any excess water.
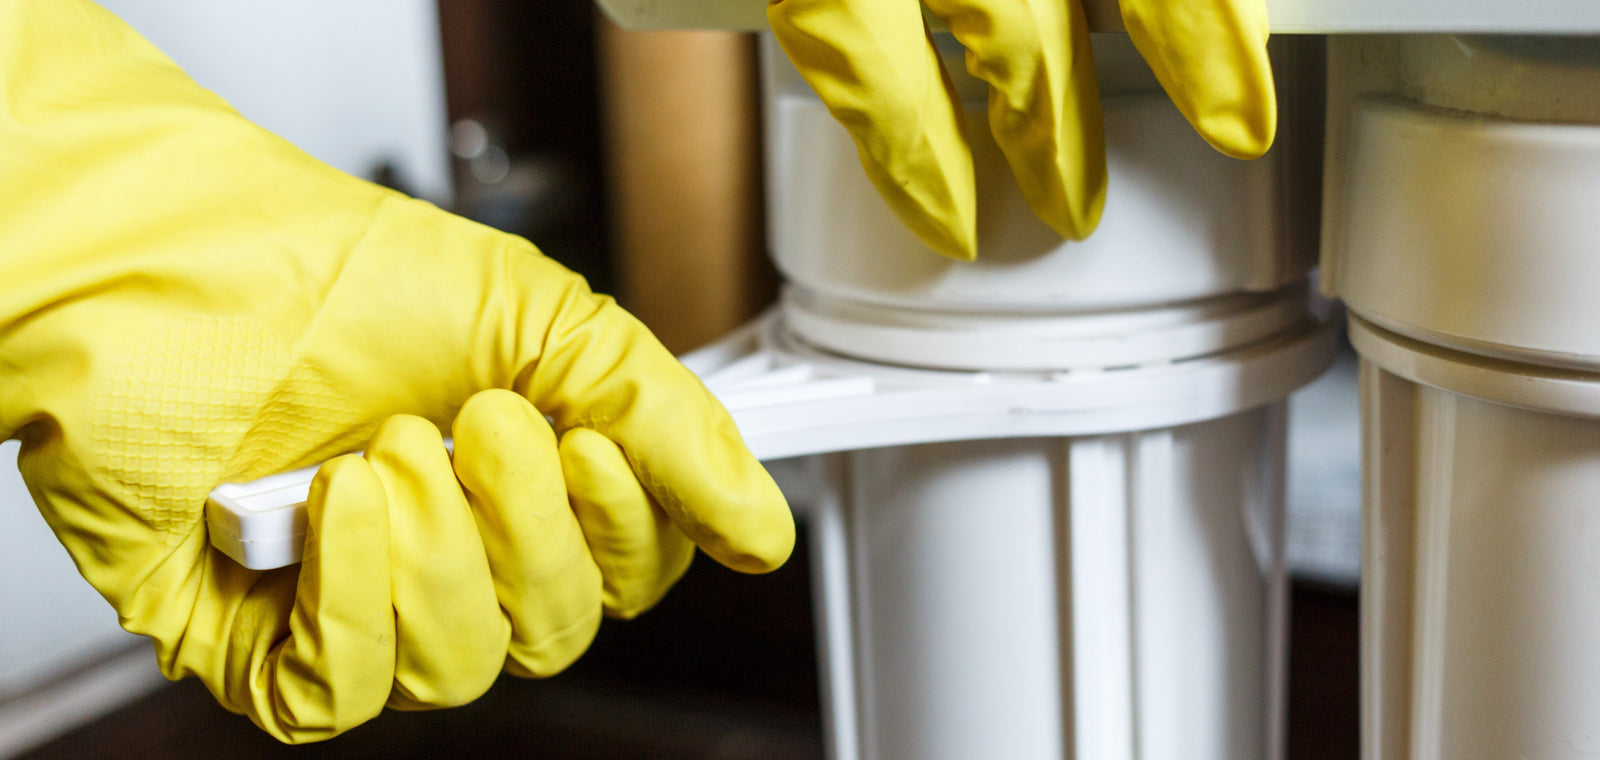
Step 3: Remove the cartridge filter sump. This can mostly be done by hand, but you may need to use a filter wrench to loosen it initially.
Step 4: Remove the old cartridge from the housing.
Step 5: Clean the inside of the sump removing any build up and lubricate the O-rings.
Step 6: Ensure your new cartridge matches the system specs and remove the wrapping.
Step 7: Insert the cartridge into the housing, ensuring it is properly aligned.
Step 8: Reattach the sump. Important: Make sure this is dead center so you don’t damage the cartridge.
Steps for Replacing a Cartridge Filter in a Multi-Cartridge Stainless Steel Housing
Before starting to replace your cartridges, ensure you have the right supplies. For this you’ll need: the cartridges, a flathead screwdriver, a rag, and lubricant. Now, follow these steps to replace cartridge filters in a multi-cartridge housing:
Step 1: Make sure the system is completely shut down and depressurized.
Step 2: Open up the air vent valve.
Step 3: Open the dirty drain and clean drain valve.
Step 4: Remove the cartridge filter housing lid by gently untwisting the screws and lowering them down. You may need to use the flathead screwdriver to help loosen the screws.
Step 5: Remove the wing nuts and the alignment plate.
Step 6: Remove all springs from the tops of the cartridges. Be careful to ensure none fall into the housing unit.
Step 7: Pull out the cartridges one by one.
Step 8: Inspect the inside of the housing unit for corrosion and clean out the inside.
Step 9: Remove the new cartridges from the plastic wrapping and insert using the alignment plate for secure placement.
Step 10: Repeat with all remaining new cartridges.
Step 11: Reinstall the springs, alignment plate and wingnuts.
Step 12: Before replacing the housing lid, clean and lubricate the O-ring.
Step 13: Replace the housing lid and screw it into place.
Step 14: Close dirty and clean drain valves.
Step 15: Run water through filter to purge any air in the system.
Step 16: Close air vent valve.
When Should a Filter Cartridge Be Replaced?
Along with effectively replacing your cartridge filter, knowing how often to change the filter is vital to keeping your system operating efficiently. Most filters come with a manufacturer’s guideline for how often to change the cartridge, so always consult those first. The general rule of thumb says that cartridges should be changed roughly every 30 days, or when your differential pressure reaches 10psi. This applies to both single cartridge and multi-cartridge filtration systems.
Caring for Filter Cartridges is Key to an Efficient System
From the moment you turn your filtration system off to the moment you turn it back on, every step is important. By taking your time, cleaning your housing unit out, and properly aligning your cartridges, you’re ensuring that your filtration system works to its full capacity.